How To Store Furniture During a Renovation
Renovating your home can bring new life to your space, but it can also create chaos if you don’t plan ahead. Furniture and items left exposed during a renovation are vulnerable to damage from dust, paint splatter, construction debris, and accidental bumps. If you’re juggling contractors, timelines, and material deliveries, the last thing you want is to deal with scratched wood, stained upholstery, or broken pieces.
In this guide, we’ll walk you through effectively storing your furniture, from deciding what to move to selecting the proper storage solution and retrieving everything once the renovation is complete.
Assessing What Needs To Be Stored
Start by walking through each room and deciding what truly needs to stay throughout the renovation. Oversized pieces, such as dining tables or sectional couches, often take up a lot of valuable space during a renovation and should be among the first to go. Items made from delicate materials, such as velvet or untreated wood, are especially prone to damage in messy, high-traffic environments.
It also helps to ask if you’ve used a particular item or piece of furniture within the last month. If not, that piece might be better off in storage.
Taking the time to sort through what’s essential versus what’s just in the way often leads to a cleaner, more functional home in the long run. Many homeowners use this opportunity to downsize their belongings altogether. If that sounds like you, consider decluttering your home by utilizing a self-storage unit.
Choosing the Right Storage Option
Once you’ve decided what to store, the next step is choosing where to put it. You’ve got two main options: on-site storage or renting a storage unit. On-site storage, such as a portable container in your driveway, might sound convenient. Still, it comes with risks, particularly if your renovation involves extensive work, such as roof repairs or landscaping. Exposure to heat, humidity, or sudden changes in weather can quickly damage sensitive furniture.
For longer or more involved projects, renting a storage unit is usually the safer bet. Pieces made from leather, antique wood, or other materials that react poorly to temperature fluctuations will be better off with the protection that a storage unit provides. Conveniently located storage facilities with climate-controlled units maintain a stable environment, which can make a significant difference if you’re storing items for several weeks or longer.
Accessibility matters too. If you live in Louisiana, for example, storing your furniture in a nearby space means you won’t have to travel far if you need to grab something mid-project. Look for facilities with secure, well-lit locations and that offer a range of unit sizes. Before signing a lease, double-check that the unit is large enough to meet your needs and that it includes essential security features, such as keypad entry or video surveillance.
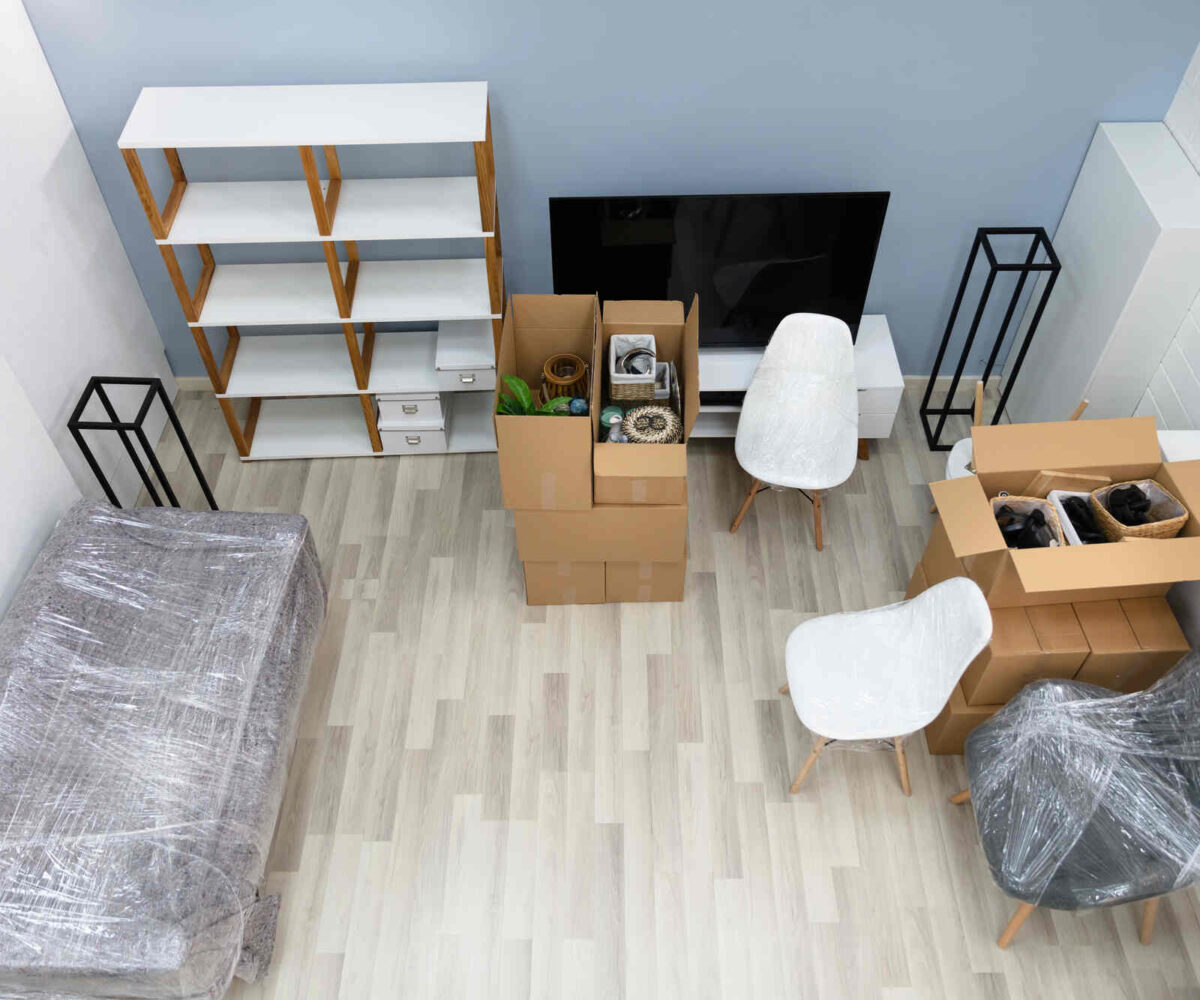
Preparing Furniture for Storage
Throwing a sheet over the couch and calling it a day isn’t going to cut it. Taking the time to prep each item properly can save you the cost and heartbreak of damage later on.
Start by thoroughly cleaning everything you plan to store. Dirt and oils can accumulate during storage, and moisture trapped in fabric or wood can lead to the growth of mold. For upholstered items, vacuum thoroughly and treat any stains that may appear. For wood surfaces, use a gentle, wood-safe cleaner. Let everything dry completely before packing.
You should also disassemble large furniture whenever possible, including removing legs from tables and breaking down bed frames. This saves space and reduces the chance of breakage during transit or storage. Then, wrap each component in protective material; use stretch wrap for clean surfaces, moving blankets for cushioning, and bubble wrap for fragile parts. As you go, label each part to simplify reassembly post-renovation.
When it’s time to organize your storage unit, resist the urge to stack everything haphazardly. Instead, place heavier items at the bottom and keep frequently accessed items toward the front. It’s important to properly organize your storage to keep your unit tidy and accessible throughout the renovation.
Bringing Furniture Back After Renovation
After weeks (or even months) of paint fumes, power tools, and dust, the reveal of your newly renovated space can be a literal breath of fresh air. Before you bring anything back in, take a moment to inspect each item you stored. Look for dust, mildew smells, or scratches that may have occurred during storage. Wipe down surfaces, fluff the cushions, and give everything a good airing.
Reassembling your furniture is the final step. Take care when moving pieces back inside. Lay down floor protectors to avoid scratching your new flooring. If you’ve had walls painted or baseboards replaced, avoid scraping them while positioning large items.
It’s also a good time to reconsider where everything goes. A fresh layout can make your newly renovated space feel even more inviting. That coffee table, for instance, might work better in another room now. Moving things around intentionally, rather than just putting them back where they were, lets you fully embrace the upgrades you’ve made.
Renovating your home is a major undertaking. Between managing timelines and making design choices, the last thing you need is added stress from damaged or misplaced furniture. Taking the time to sort, store, and protect your belongings can help the entire process run more smoothly.